Chamberlain myQ Smart Garage Camera review
The Chamberlain myQ Smart Garage Camera is a security solution that can be added inside or around your garage. It can be used as a functionally standalone IP camera or as a partner with the myQ Garage Door Opener to provide effective video coverage of your garage. In this review, I’ll see if this camera is right for you. As background, I already own the Chamberlain myQ Garage Door Opener (with camera) and have owned two smart garage control devices over the past decade, so I’ve been wowed by their products a few times. I’m hoping for more of these.
Opening the box of the Chamberlain myQ Smart Garage Camera
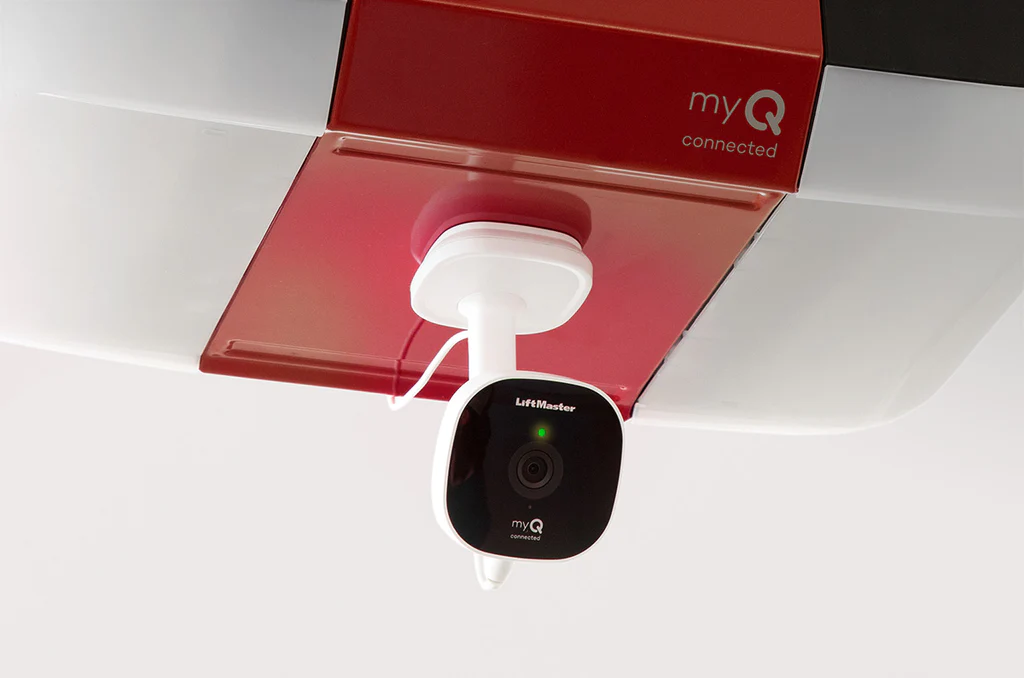
Chamberlain MyQ Smart Camera in the Garage
There isn’t much in the box and there’s very little assembly required. You get the camera, AC power adapter, mount and cleaning wipes. The camera is ready to go and the mounting bracket is actually an adhesive that sticks to the wall (it can be screwed into a stud or drywall anchor for added support).
The camera has a magnetic base, so you don’t even need to use the mount if you have a surface to attach it to (e.g., a mounting bracket for a garage door opener or a wall of magnetic tools.) Don’t mount the camera yet, though.
Setting up your myQ smart garage camera
Chamberlain’s myQ products are among the easiest smart products on the market to set up, so don’t expect too many challenges here. This camera is no exception. If this is your first Chamberlain product, you’ll have to download the latest version of the myQ app from the iOS or Android app store. Once you’ve created an account, it will walk you through setting up your first device, which is a video solution.
Without an already registered account, the myQ smart garage camera will project its own local signal for the app to receive. At this point, all you have to do is register the device to your Wi-Fi network and install the latest firmware update. All of this will take 5 – 10 minutes. When the device is ready, it will show up on your home screen and the camera’s LED power light will be bright green. The camera comes with a Chamberlain 30-day cloud storage trial, which is automatically activated during the installation process. Existing Chamberlain myQ users should just go to their home screen, click on the + icon in the bottom right corner, and then Add New Device > Video Solutions > Smart Garage Camera. You will then follow the same instructions to set it up.
If you have a Chamberlain myQ garage door opener, you’ll need to connect your new camera manually. To do this, click on the small “…” menu in the lower right corner of the camera preview thumbnail and select “Device Link”. If your garage door opener is supported and already in your myQ app, you can link to it here.
However, I quickly learned that my garage door opener is not supported. My opener already has one camera and does not support a second camera. Therefore, the webcam doesn’t consider it a device that can connect to itself, so the two operate independently. Theoretically, disabling and removing the corkscrew’s camera from the app might result in a new camera being able to link to it, but I’m not sure that’s a realistic scenario. You’d be better off running it as a standalone device that can cover areas of the garage that the corkscrew’s camera can’t.
In terms of mounting, the camera only weighs 280 grams and it has a very sturdy magnet base so it’s unlikely to randomly fall off a magnetic surface if you choose not to mount it. The simplicity of the installation meant that I had it up and hanging on the wall in less than 90 seconds.
Where to put the myQ Smart Garage Camera
The camera’s shooting radius is a bit limited. On the surface, 130 degrees doesn’t sound that limited, but I’ll explain that in more detail when I start talking about the tracking feature. One thing you really want to make sure of is that it’s placed somewhere with a strong Wi-Fi signal. I’ve found that no matter where I place the camera, the most important thing is how strong the Wi-Fi signal is to support it. Without a strong Wi-Fi signal, you may miss out on activity tracking and not be able to reliably utilize the real-time features of this camera. In the myQ app, you can track the camera’s Wi-Fi signal strength right from the homepage.
For this review, I placed the camera in three locations in my garage. Since I already had the camera in my garage door opener, I didn’t think it needed to be above the center of the garage, so I started mounting it above where we park our sedan. This wasn’t a great choice because I had tons of signal interference, which really kept me from taking full advantage of the features. We even had a delivery to our garage once and my wife stood there talking to the delivery guy, but it didn’t register people or activity in the garage.